Vertical Measurement
- Waist
- Hip
- thigh
- Knee
- Ankle
- Outside Leg
- Inside Leg
- Bonus Straddle


HOW TO MAKE WOMEN T ROUSER
Vertical Lengths
WL = Waist Length
HL = Hip Length
CL = Crutch Line
TL = Thigh Length is 3" below Crutch Line
KL= Knee Length
AL= Ankle Length
Horizontal Lengths
Crotch Depth

Thigh Length 

Knee Length

Ankle Length

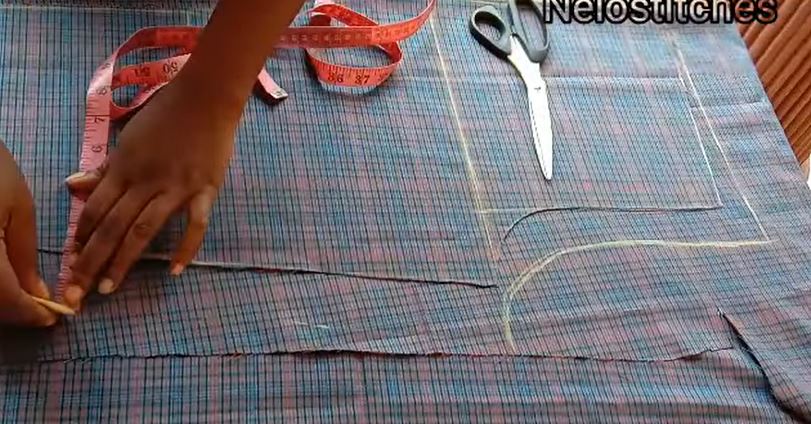
Transferring Horizontal lines
Start from HL hip line = hip measurement/4 = 8.75 + 0.25 for allowance = 9"
Mark the 9" on the WL waist line, and CL crutch line
Connect as a straight line.

Horizontal Hip

Hip-Crutch-Waist Line Connect

Waist Measurement /4 + 0.25" allowance + 1" for dart
Connect the waist line to Hip line

Connect the waist line to Hip line

Horizontal - Hip line divided by 4. and add to the Crutch Line

Add Hip line /4 to the length of Crutch

Draw a crutch curve line - mark 2" from crutch line base to Hip line to form the curve at hip line intersection.

Find the center line by measure the crutch line + 4" and divide it by 2

Transfer measurement to Waist Line, Hip Line, Knee Line and Ankle Line


TL Thigh measurement divided by 2 


MArk Pocket Line 2" x 6" curve and add seam allowance 1/2

The actual line marking of the Thigh Measurement

Horizontal - center line Knee Measurement/2 

Mark Horizontal - Fold hem add 2.5"

Ankle measurement /2 

Interconnect the lines


Center Line 4" for the darts on the Waist Line


Darts 1/2" on both sides of center line

Darts marked out

Add Seam Allowance 1/2" all around Template

Back Panel - Outline from Front Panel with dotted line

Add Zipper line 2" outwards towards the hip :ine


BACK PANEL
transfer lines from front panel - on waist find mid point from center line to zipper end and mark it off

2" added to crutch line 


at that point 2" out crutch line come down 1/2"

Measure points on crutch to zipper with is 2" and transfer up 2" from waist


Transfer the straight waist line to Slant waist line


Interconnect the top to the side seam

add 1" allowance around the pants back panel

Final